


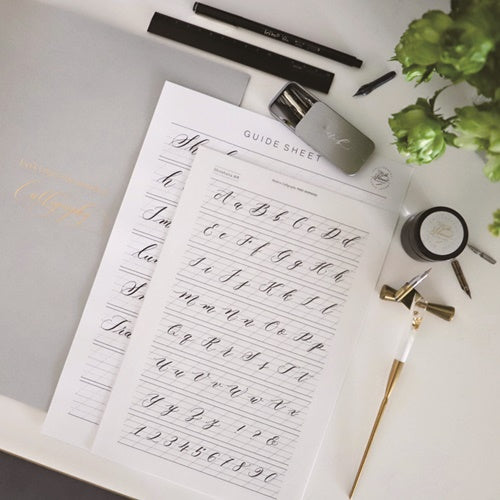
Engraving expands the world of calligraphy.
Here's how to use Paper Tree's original engraver.
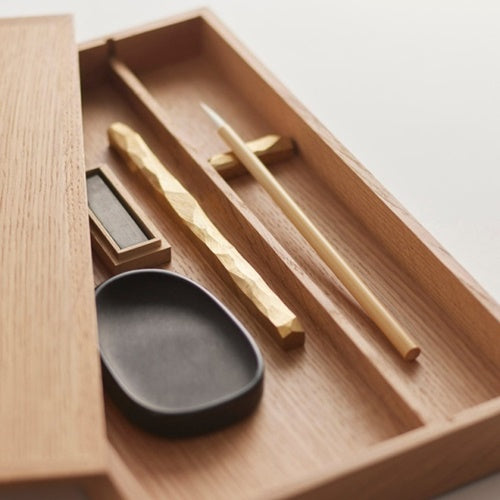
Set contents

・Engraver body
・Handpiece ・Handpiece stand ・AC adapter ・Diamond bits (1.2mm/2.0mm x 3 each)
・Collet sleeve ・Instruction manual (English/Japanese)
Bit setting
<How to set>
- Rotate the shaft until you hear a click to unlock it and remove the blank bar.
- Insert the collet sleeve
- Insert the diamond bit
- Rotate the shaft until you hear a click to lock it in place (the two arrows will be perfectly aligned when it is locked).
* The handpiece (pen barrel) originally contains a blank bar.
This also serves to protect against dust, so please be sure to plug it in when not in use.
Setting the main body and handpiece
<How to set>
- Insert the arrow on the handpiece connector into the main unit on the top side.
- Insert it until you hear a "click" and the connection is complete
Try it out
Once you've completed the setup, try engraving on bottles, glass, etc.!
*Fine dust will be flying around, so a mask is required and we also recommend wearing glasses.
This engraver can be set to a maximum speed of 35,000 rpm.
When engraving hard materials such as glass or bottles, we recommend using 35,000 rpm.
There is a button on the side of the device to change the direction of rotation.
We recommend the F (Forward) setting for right-handed people and the R (Reverse) setting for left-handed people.
◇◇◇
In the next blog, we will show you how to actually engrave a bottle!